1Create the page
Click Website → Pages tab → + New page. Set the title, slug (e.g. about-us), and pick the Blocks renderer (the alternative is Rich text, which uses TipTap for blog-style content).
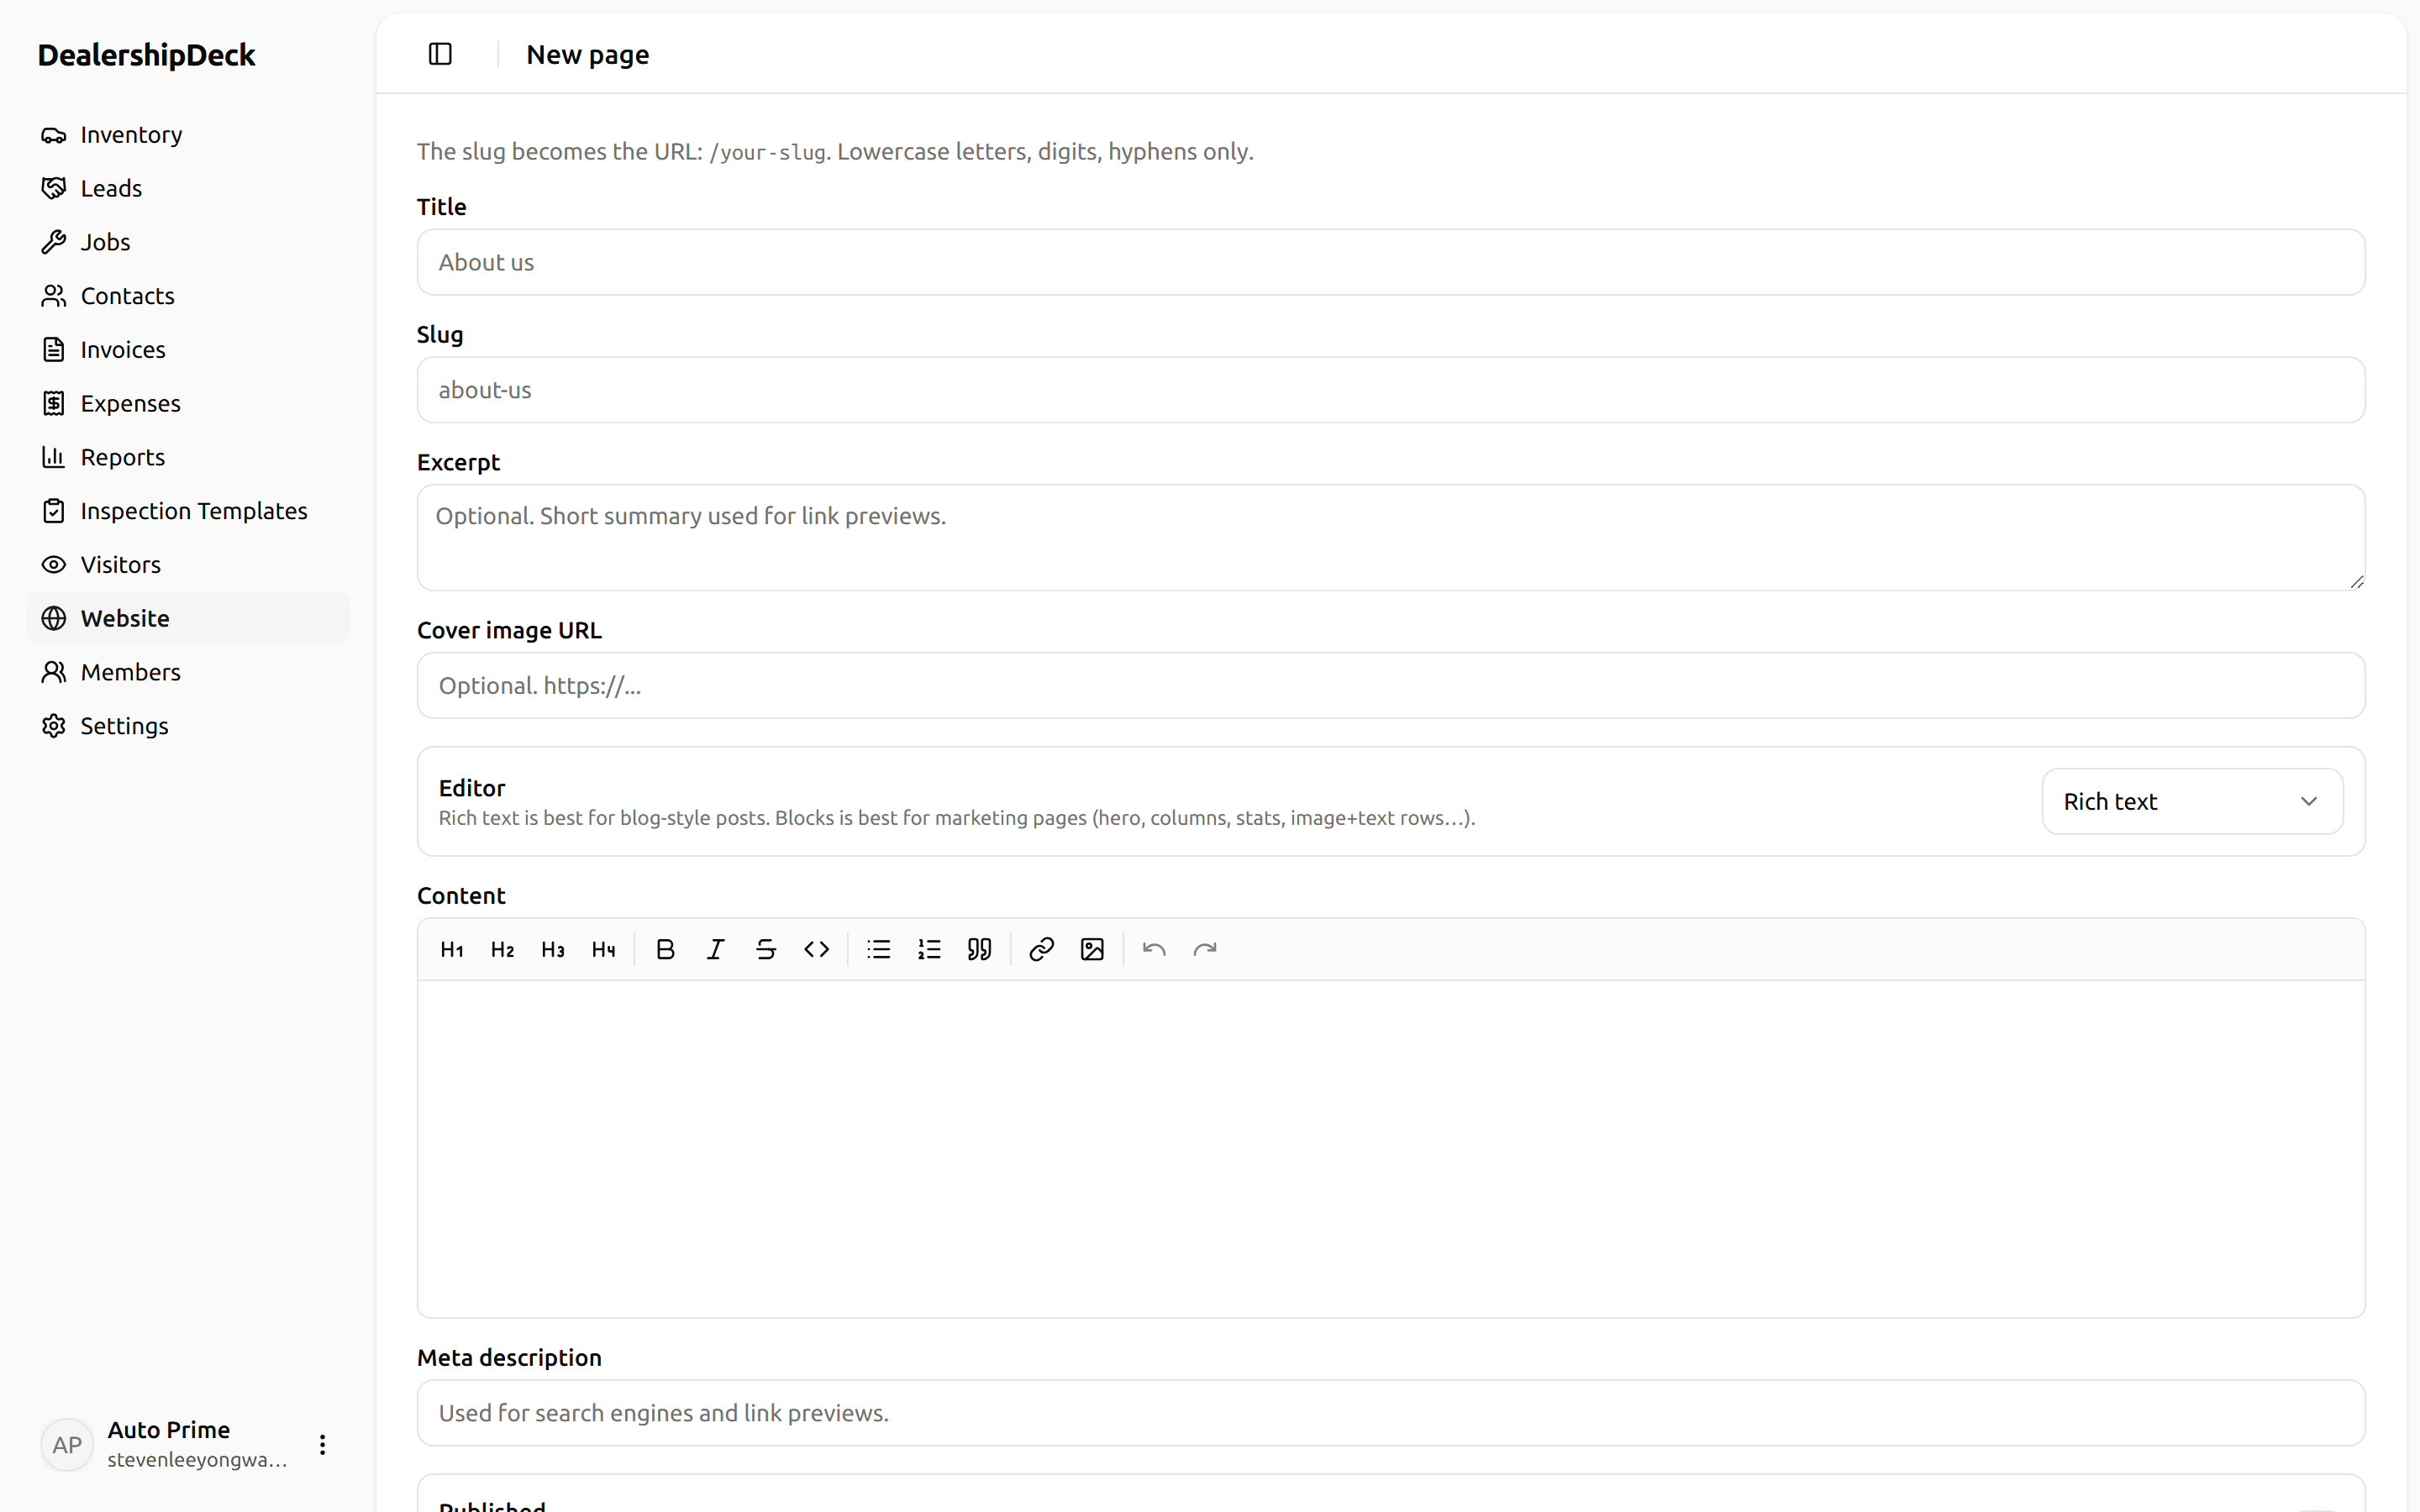
public/help/page-editor-1.png — The new-page form with Title, Slug, and a Renderer radio with 'Blocks' selected.2Drag blocks onto the canvas
The left panel lists every block type: Hero, Text, ImageText, Columns, Stats, Timeline, Grid, Card, Cta, FeatureGrid. Drag any of them onto the canvas. The right panel shows that block's properties — edit text, change images, swap colours.
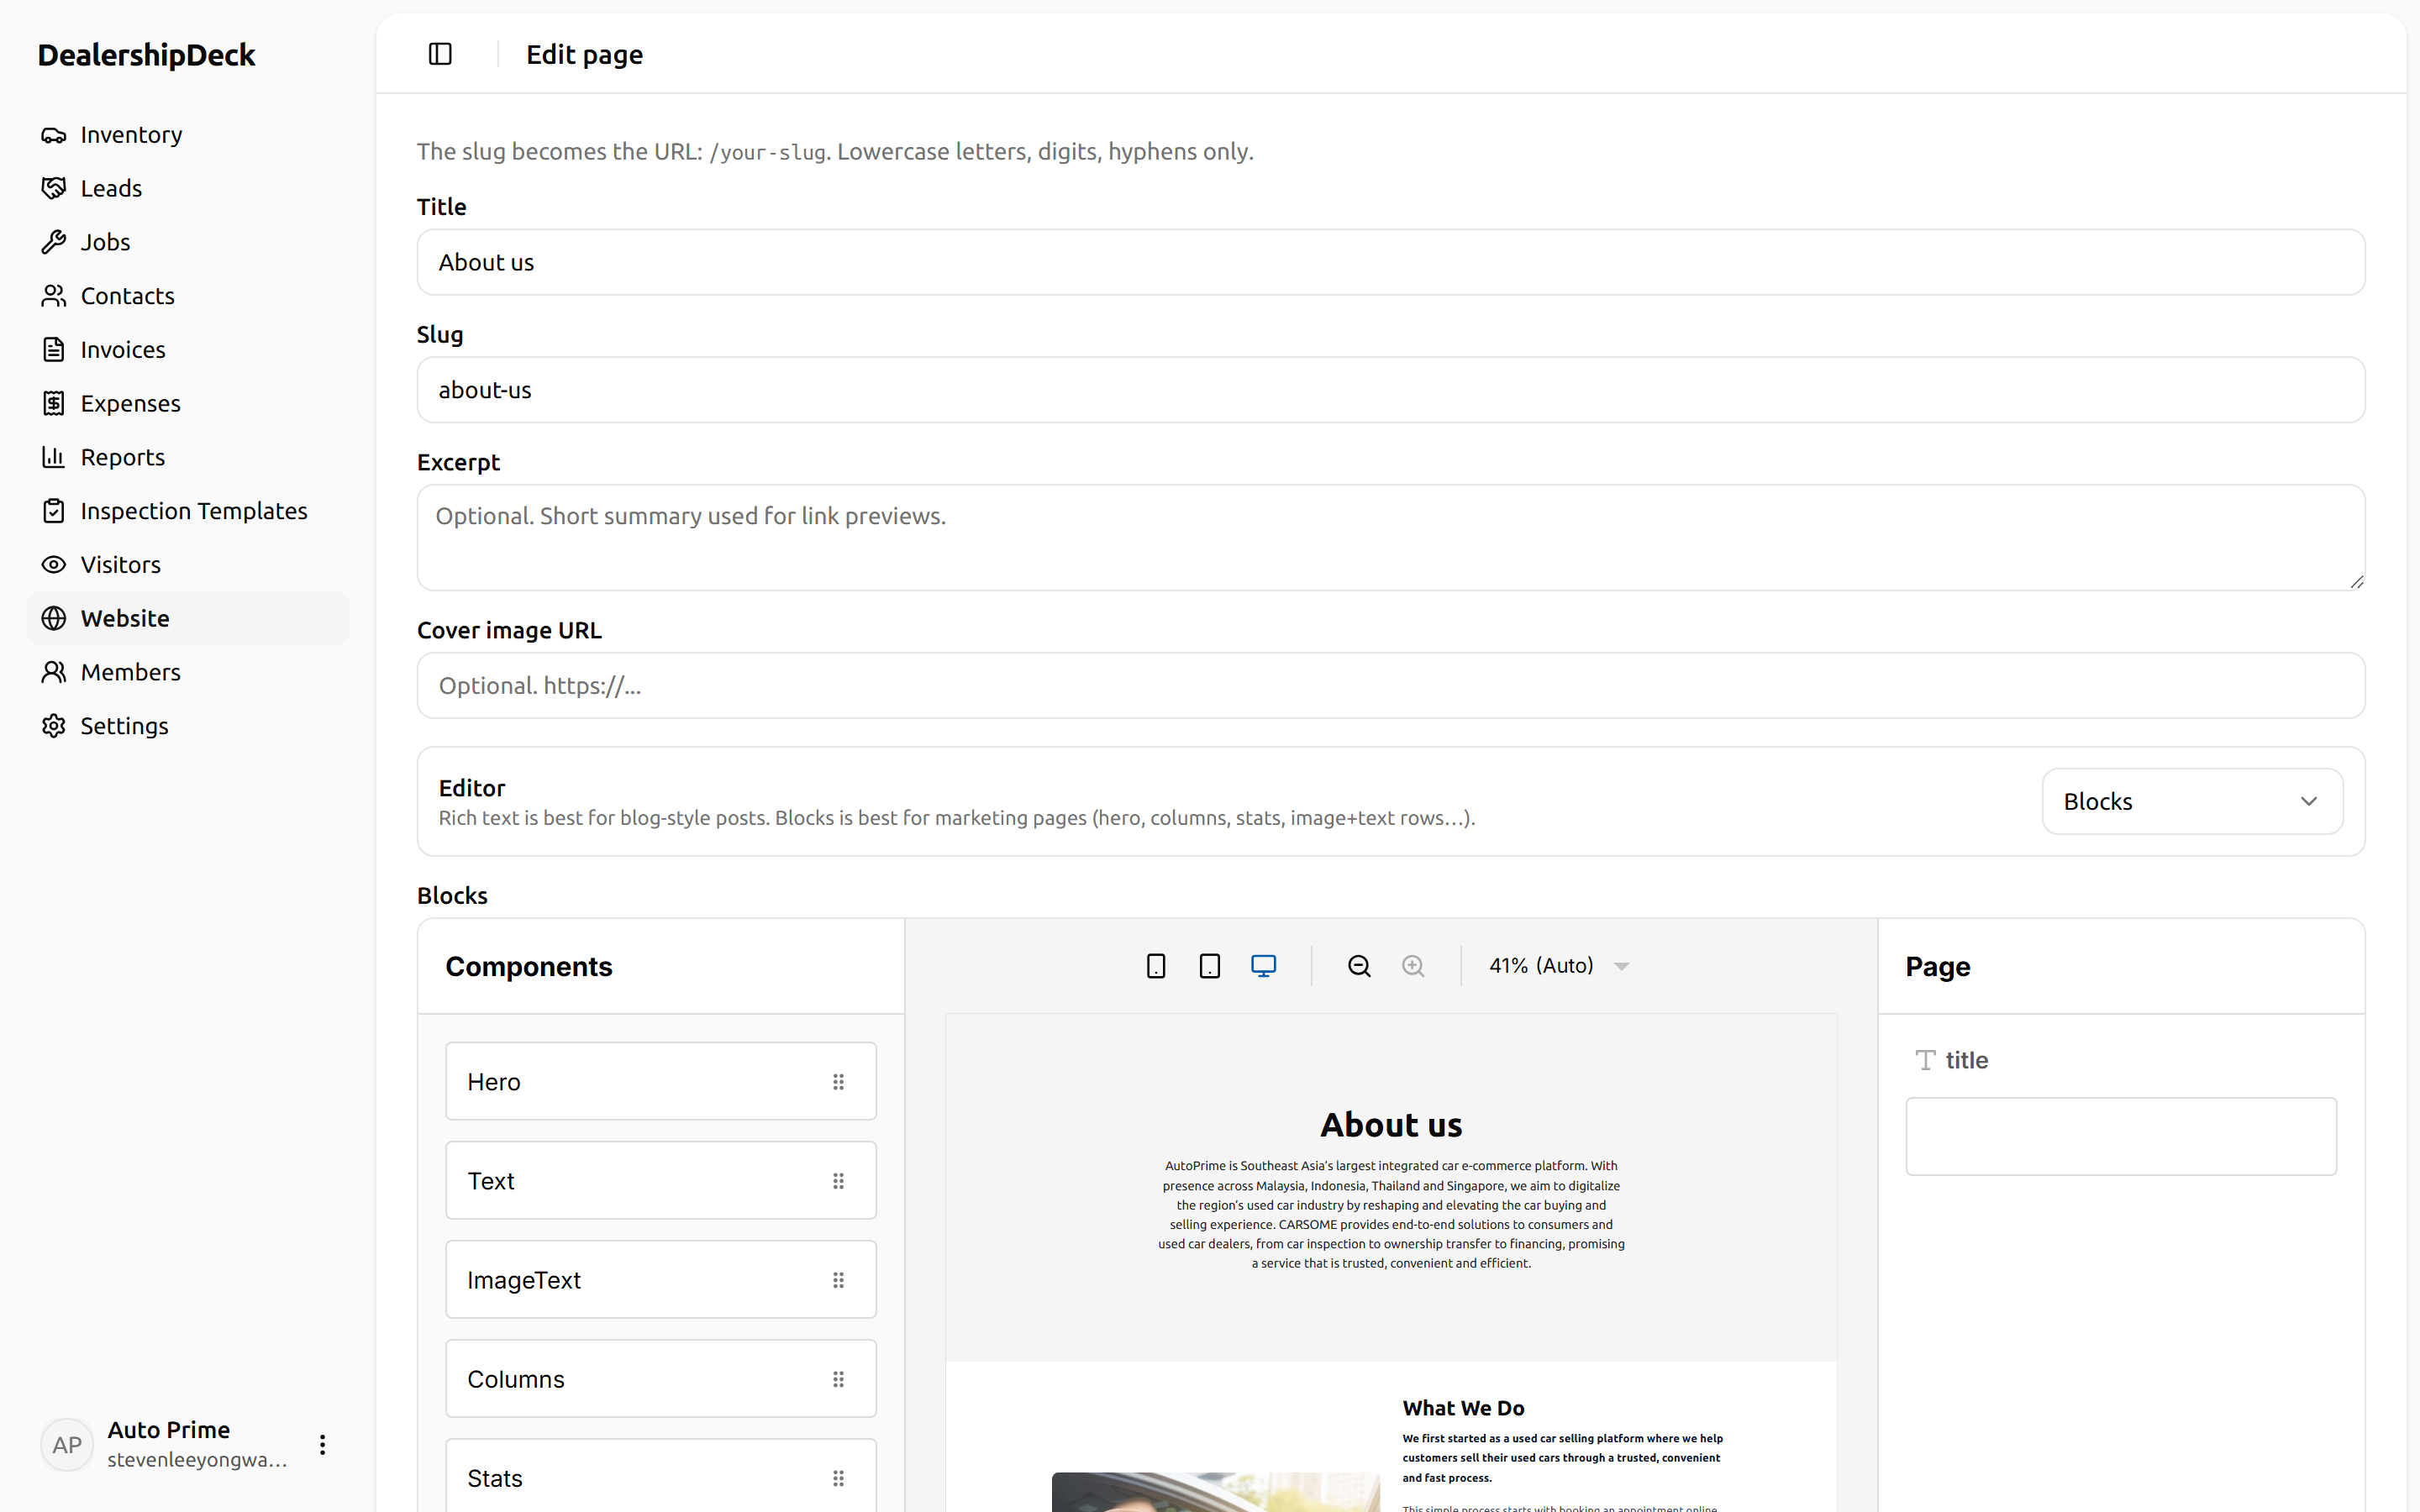
public/help/page-editor-2.png — The Puck editor open: left sidebar with block types, central canvas with a Hero + Text + ImageText stacked, right sidebar showing the selected block's properties form.3Nesting with Grid + Card
Need a 4-column feature grid like a competitor's about page? Drop a Grid (columns = 4), then drop 8 × Card inside. Inside each Card drop an ImageTextwith an icon + a label. The Card's background, padding, and rounded corners are configurable.
4Publish
Toggle Published on the page settings — until then the page is a draft and only visible to admin previews.